

Key Takeaways
- Start with proper preparation and safety – Clear the area completely, use protective gear, and work during low-traffic hours to prevent accidents and ensure efficient cleaning results.
- Choose cleaning methods based on your stair material – Wooden stairs need gentle soap solutions and immediate drying, carpeted stairs require regular vacuuming plus occasional deep cleaning, while concrete stairs can handle stronger cleaning solutions and scrubbing.
- Work systematically from top to bottom – Always clean stairs from the highest step downward to prevent dirt from falling onto already-cleaned surfaces, and clean railings weekly since they collect germs from frequent hand contact.
- Address stains and spills immediately – Fresh stains respond much better to treatment than set-in stains, with different stain types requiring specific cleaning solutions (oil-based stains need solvents, while food stains respond to dish soap and warm water).
- Establish a regular maintenance schedule – Vacuum or sweep weekly, spot clean spills instantly, deep clean every 3-4 months, and inspect for damage quarterly to prevent minor issues from becoming costly repairs.
- Use appropriate tools and avoid common mistakes – Invest in basic supplies like microfiber cloths, stiff brushes, and vacuum attachments, while avoiding excessive water on wood surfaces and harsh chemicals that can damage finishes.
You’ve probably noticed that grimy film coating your staircase railings or the dust bunnies lurking in corners where steps meet walls. Most commercial buildings keep stairways tucked behind doors, making them easy targets for neglect—and your home’s staircase faces the same “out of sight, out of mind” challenge.
Dirty staircases aren’t just unsightly—they’re safety hazards that can harbor allergens and contribute to poor indoor air quality. Whether you’re dealing with carpeted steps that trap debris or hard surfaces that show every footprint, regular cleaning prevents buildup that becomes increasingly difficult to tackle over time.
The good news? Cleaning stairs doesn’t require expensive equipment or hours of scrubbing. With the right technique and a few basic tools, you’ll transform your staircase from a dust-collecting afterthought into a spotless, safe passage that enhances your home’s overall cleanliness.
Materials and Tools Needed
Basic cleaning supplies transform your staircase cleaning from a challenging job into a manageable routine. Most homeowners already possess 80% of the required items in their cleaning cabinets.
Essential Cleaning Tools
Stiff brush or broom removes surface debris and loose dirt from stair treads and risers. Choose a brush with firm bristles that can reach into corners and crevices where dust accumulates. Angled brushes work particularly well for stair edges and tight spaces.
Vacuum cleaner with hose attachment extracts embedded dirt that brushing cannot reach. The hose attachment allows you to clean vertical surfaces and awkward angles that standard vacuum heads cannot access effectively.
Clean cloths or towels (at least 3-4 pieces) absorb excess moisture and wipe down surfaces. Microfiber cloths prove most effective for dust removal and water absorption without leaving streaks or lint behind.
Scrubbing brush tackles stubborn stains and ground-in dirt. Select a brush with medium-stiff bristles that clean effectively without damaging your stair material.
Cleaning Solutions by Stair Type
| Stair Material | Primary Cleaner | Alternative Solution |
|---|---|---|
| Carpeted | Carpet shampoo | Hot water + fabric softener + white vinegar + baking soda (equal parts) |
| Wooden | Wood floor cleaner | Warm water + mild dish soap |
| Concrete | All-purpose cleaner | Water + white vinegar (1:1 ratio) |
| Tile/Stone | pH-neutral cleaner | Warm water + gentle detergent |
Specialized Equipment for Deep Cleaning
Wet-dry vacuum removes excess water after shampooing carpeted stairs. Most households substitute towels for water absorption, though wet-dry vacuums complete the job more efficiently.
Spray bottles distribute cleaning solutions evenly across stair surfaces. Fill separate bottles for different cleaning solutions to avoid cross-contamination.
Protective gear including rubber gloves protects your hands from cleaning chemicals. Non-slip shoes prevent accidents while cleaning wet surfaces.
Optional Tools for Enhanced Results
Steam cleaner sanitizes and deep cleans without harsh chemicals. Steam cleaners work particularly well on carpeted stairs and eliminate 99.9% of bacteria and allergens.
Extension pole reaches high staircases safely without requiring ladders. Many cleaning tools attach to extension poles for improved reach and reduced strain.
Drop cloths or plastic sheeting protect surrounding areas from cleaning overspray. Place protective coverings on nearby walls and floors before beginning the cleaning process.
Preparing Your Staircase for Cleaning
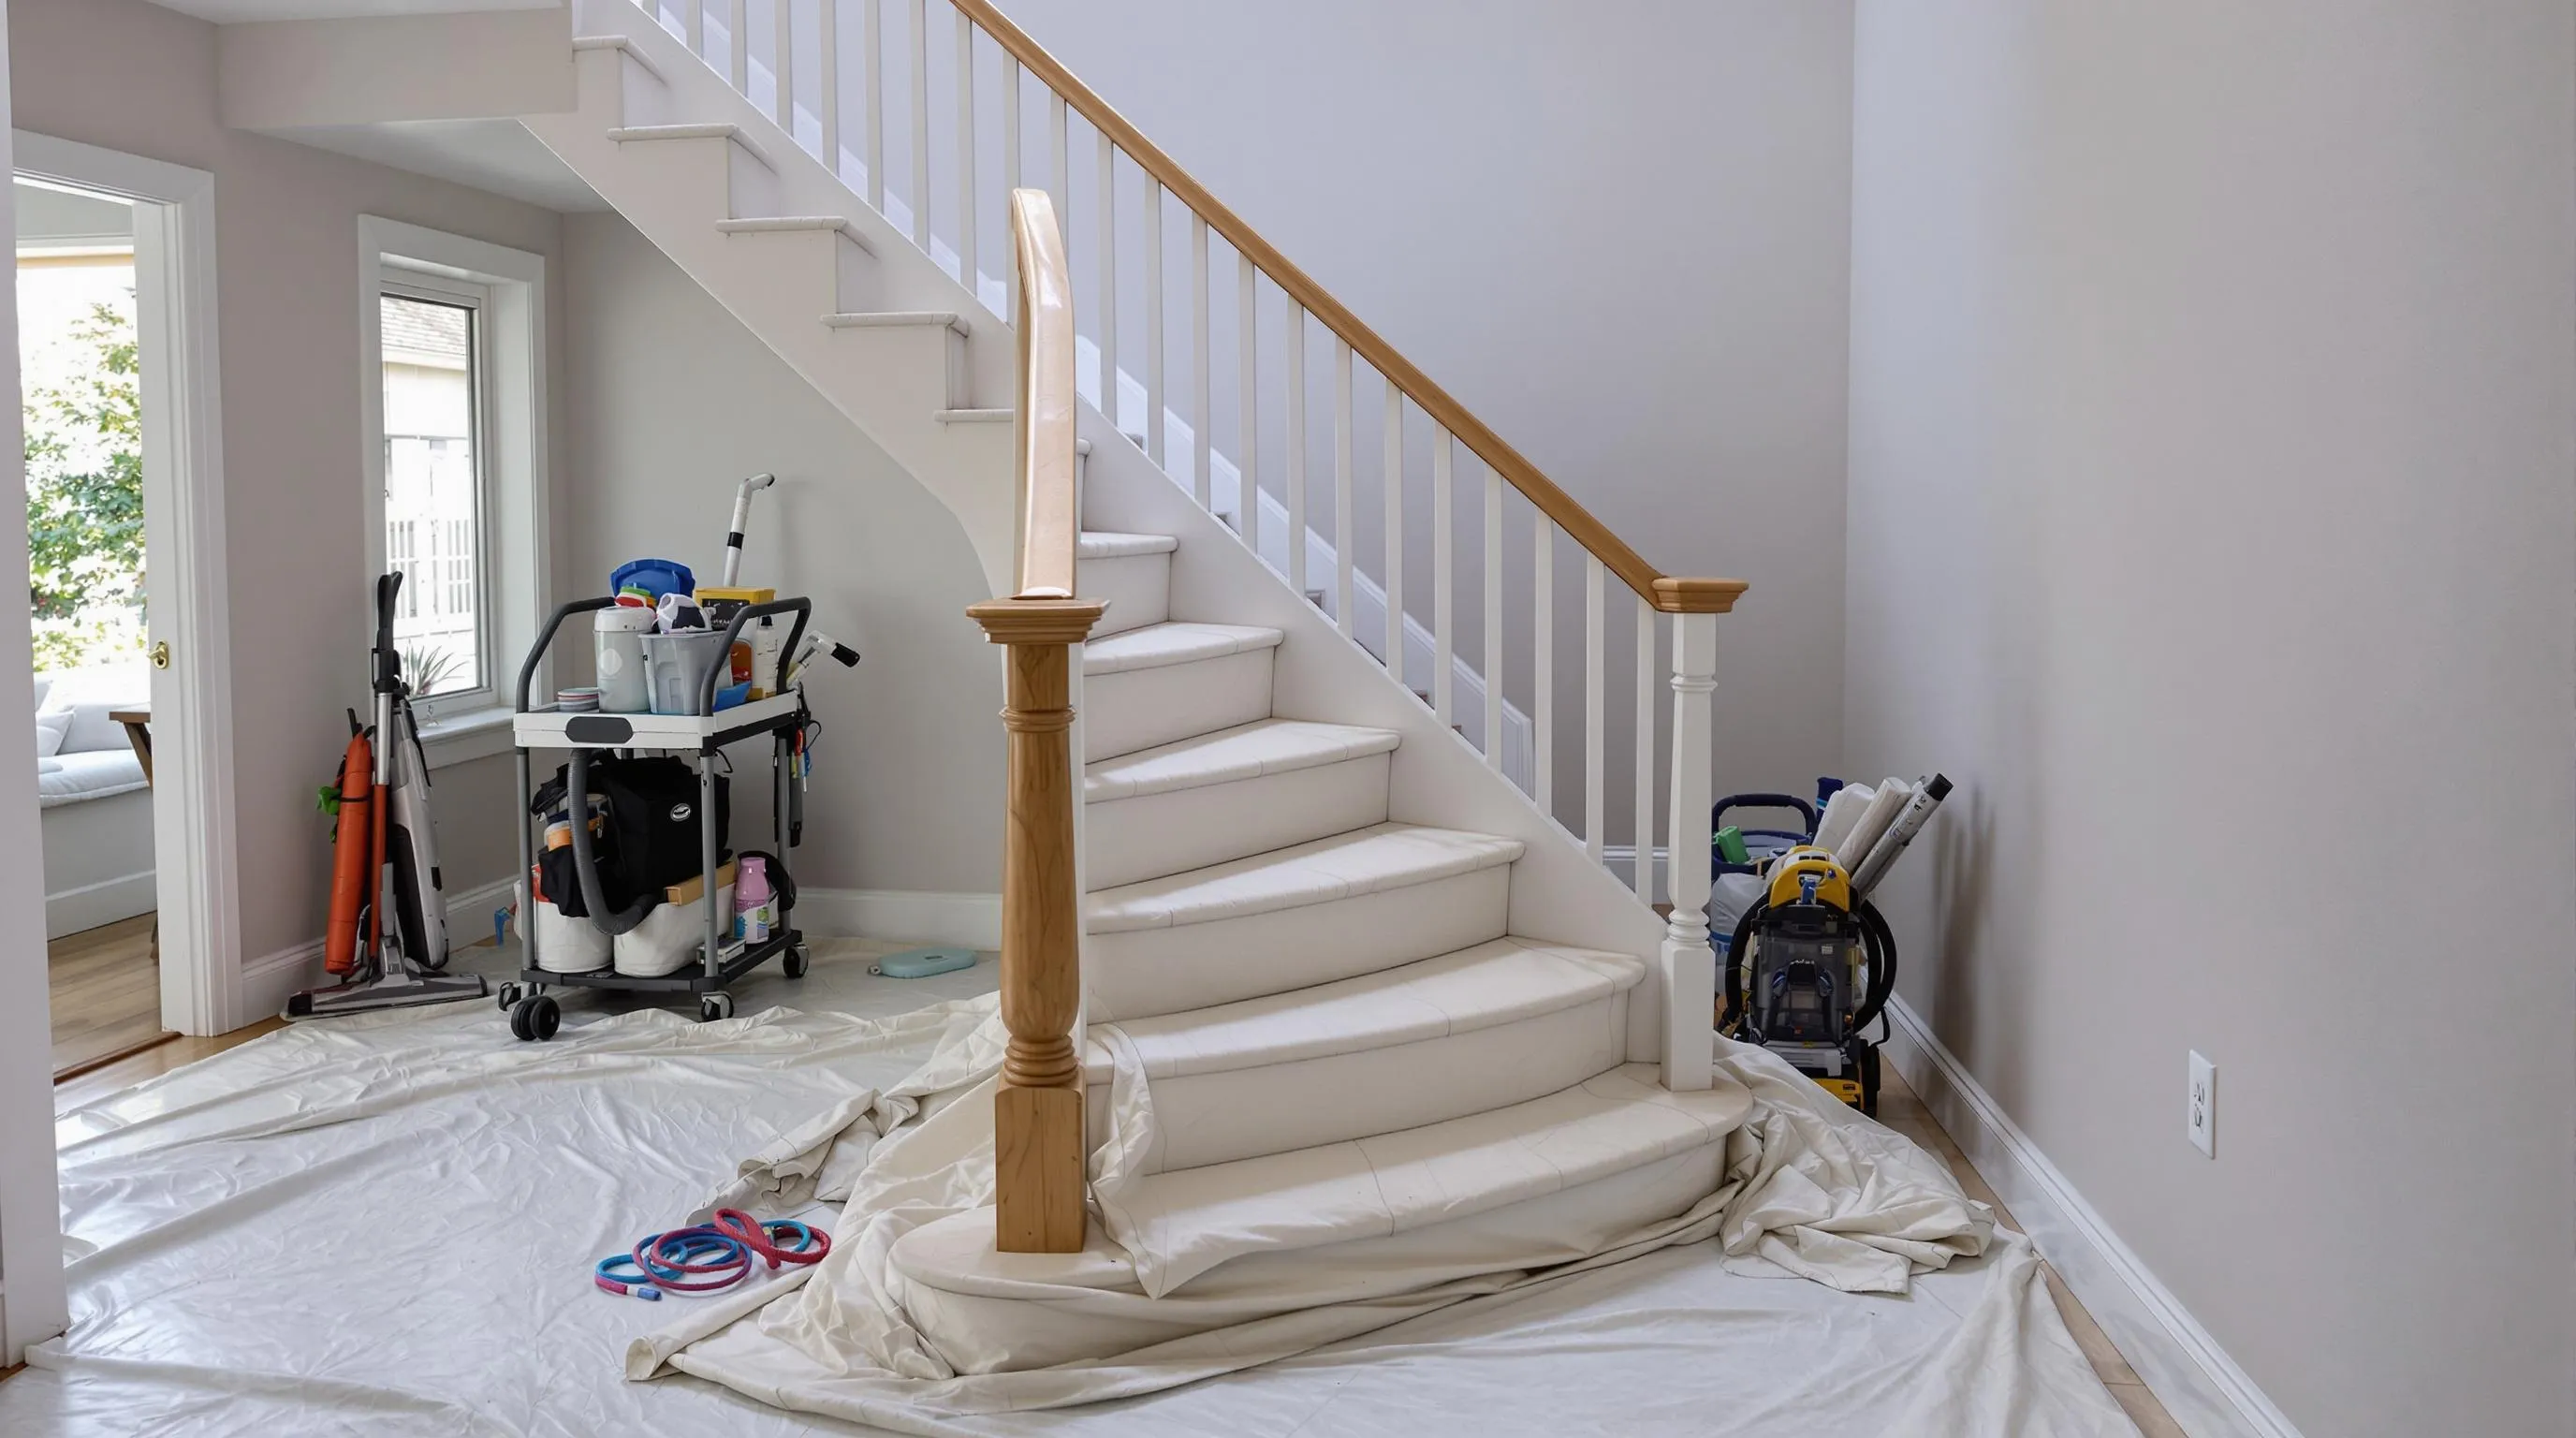
Preparation prevents accidents and ensures efficient cleaning results. Clear planning transforms staircase cleaning from a challenging task into a manageable routine.
Safety Precautions
Secure the staircase area by removing all foot traffic during cleaning hours. Clean stairs collect debris that falls from upper steps to lower areas, creating slip hazards if people walk through during the process.
Protect surrounding floors with drop cloths or plastic sheeting at the staircase base. Cleaning solutions and debris can damage finished flooring materials like hardwood or tile.
Wear protective gear including rubber gloves and safety glasses when using cleaning chemicals. Non-slip shoes provide better traction on wet or soapy stair surfaces during the cleaning process.
Work during low-traffic hours such as early morning or late evening. Cleaning stairs during peak usage times wastes effort and creates safety risks for household members.
Keep cleaning supplies organized on a stable cart or caddy to prevent spills. Position your vacuum outlet within reach of all stair areas before starting to avoid extension cord tangles.
Clearing the Area
Remove all decorative items including pictures, plants, runners, and ornaments from the staircase and adjacent walls. Store these items in a separate room until cleaning completion.
Strip carpeted stairs of loose rugs or temporary coverings. Check each step for small objects like toys, coins, or jewelry that could interfere with cleaning equipment.
Vacuum or sweep the entire staircase from top to bottom using a stiff brush or vacuum with hose attachment. This initial debris removal prevents scratches on hard surfaces during wet cleaning.
Clear the landing areas at both the top and bottom of the stairs. Create workspace by moving furniture back 3-4 feet from stair entrances to allow proper equipment maneuvering.
Dust handrails and balusters with a microfiber cloth before deep cleaning begins. Address cobwebs in stair corners using a feather duster or vacuum brush attachment to prevent debris from falling onto clean surfaces.
Test cleaning solutions on an inconspicuous stair area to check for discoloration or damage. Mark damaged steps that require special attention or repair before cleaning proceeds.
How to Clean Wooden Staircases

Wooden staircases demand gentle care to preserve their natural beauty and prevent damage. The cleaning approach depends on your wood finish type: surface-sealed wood requires basic maintenance while unfinished wood demands additional protection steps.
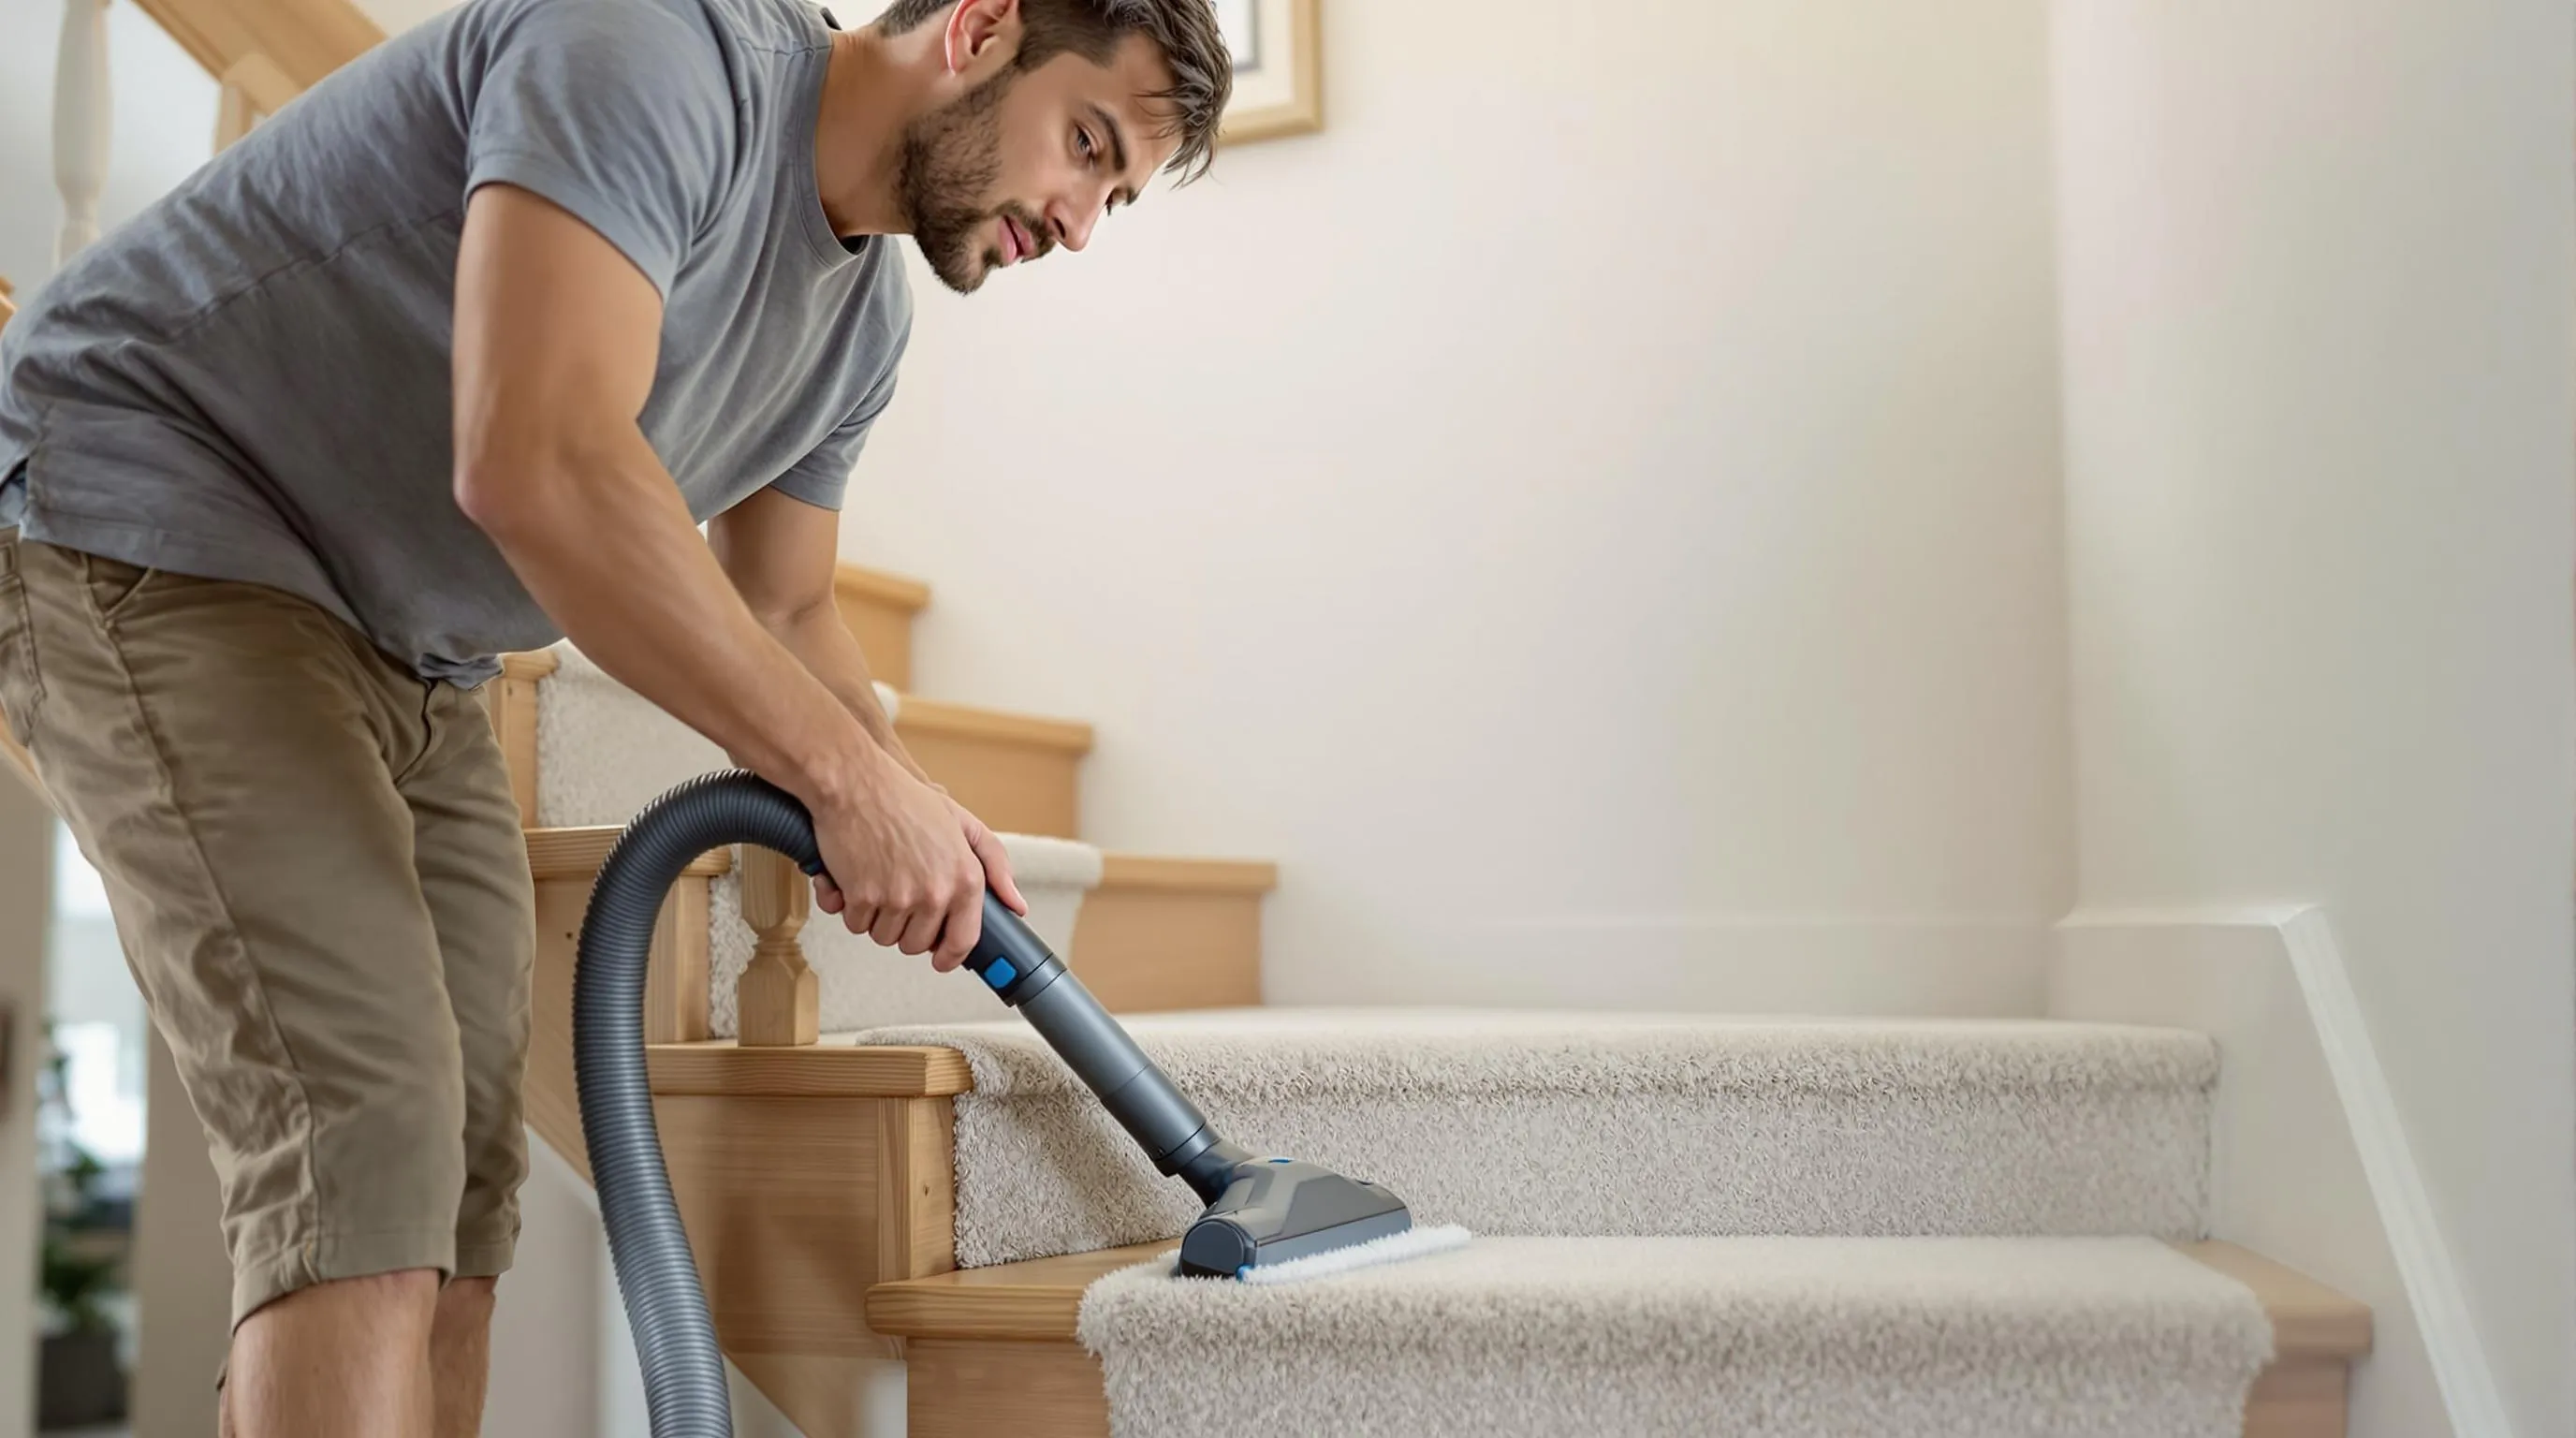
Dusting and Vacuuming
Start by removing loose debris and dust particles from your wooden staircase using a vacuum cleaner with brush attachment. Position the brush attachment gently against each step and work from top to bottom to prevent dirt from falling onto cleaned areas.
Focus extra attention on corners and crevices where dust accumulates heavily. The brush attachment agitates embedded particles without scratching the wood surface like stiff bristles might.
Clear all items from the staircase before beginning this process. Remove decorative objects like vases or books to create safe working conditions and access every surface area.
Dust the handrails and spindles using a microfiber cloth or feather duster. These vertical surfaces collect airborne particles and fingerprints that affect the overall appearance of your staircase.
Preparing Cleaning Solution
Mix warm water with mild dish soap at a ratio of 1 gallon water to 2-3 drops dish soap for most wooden staircases. This gentle combination removes dirt without damaging wood finishes or leaving residue.
Test your cleaning solution on an inconspicuous area first. Apply a small amount to a hidden corner and wait 10 minutes to check for discoloration or damage before proceeding.
For surface-sealed stairs with stubborn grime consider adding 1/4 cup white vinegar to the soap solution. The acidic properties help break down buildup while remaining safe for sealed wood surfaces.
Avoid harsh chemicals like bleach or ammonia-based cleaners. These products strip protective finishes and can permanently discolor natural wood grain patterns.
| Wood Type | Cleaning Solution | Special Notes |
|---|---|---|
| Surface-sealed | Water + dish soap | Most common finish type |
| Penetrating-sealed | Water + dish soap | Requires waxing after cleaning |
| Unfinished | Water + dish soap | Needs immediate drying |
Cleaning and Drying Process
Dip a soft microfiber cloth into your cleaning solution and wring out excess moisture until the cloth feels barely damp. Excessive water penetrates wood grain and causes warping or staining.
Wipe each step individually from back to front using smooth motions. Apply gentle pressure to remove scuff marks and footprints without saturating the wood surface.
Rinse the cloth frequently in clean water to prevent redistributing dirt across different steps. Replace the cleaning solution if it becomes visibly dirty during the process.
Follow immediately with a clean damp cloth to remove soap residue. Soap buildup creates slippery surfaces and attracts more dirt over time.
Dry each step thoroughly with a clean microfiber towel. Work quickly to prevent water spots or moisture damage especially on unfinished wood surfaces.
Open windows or use fans to accelerate the drying process. Proper air circulation prevents moisture from settling into wood pores where it can cause long-term damage.
Polishing and Finishing
Apply liquid or paste wax to unfinished and penetrating-sealed wooden stairs every 6-12 months depending on foot traffic levels. Wax creates a protective barrier that repels moisture and reduces wear patterns.
Spread wax thinly using a clean cloth and work with the wood grain direction. Allow the wax to penetrate for 10-15 minutes before buffing to a subtle shine with a dry microfiber cloth.
Skip oil-based polishes and glossy finishes on stair treads. These products create dangerously slippery surfaces that increase fall risks especially in high-traffic areas.
For surface-sealed stairs simply buff with a dry microfiber cloth after cleaning. The existing finish provides adequate protection without additional treatments.
Inspect your stairs monthly for scratches or wear patterns. Address minor damage promptly with touch-up products designed for your specific wood type and finish.
Consider professional refinishing every 7-10 years for heavily used staircases. Deep scratches and worn finish areas compromise both appearance and wood protection.
How to Clean Carpeted Staircases
Carpeted staircases demand specialized cleaning techniques that protect the fabric while removing embedded dirt and stains. Regular maintenance prevents permanent damage and extends carpet lifespan by preventing dirt from settling deep into fibers.
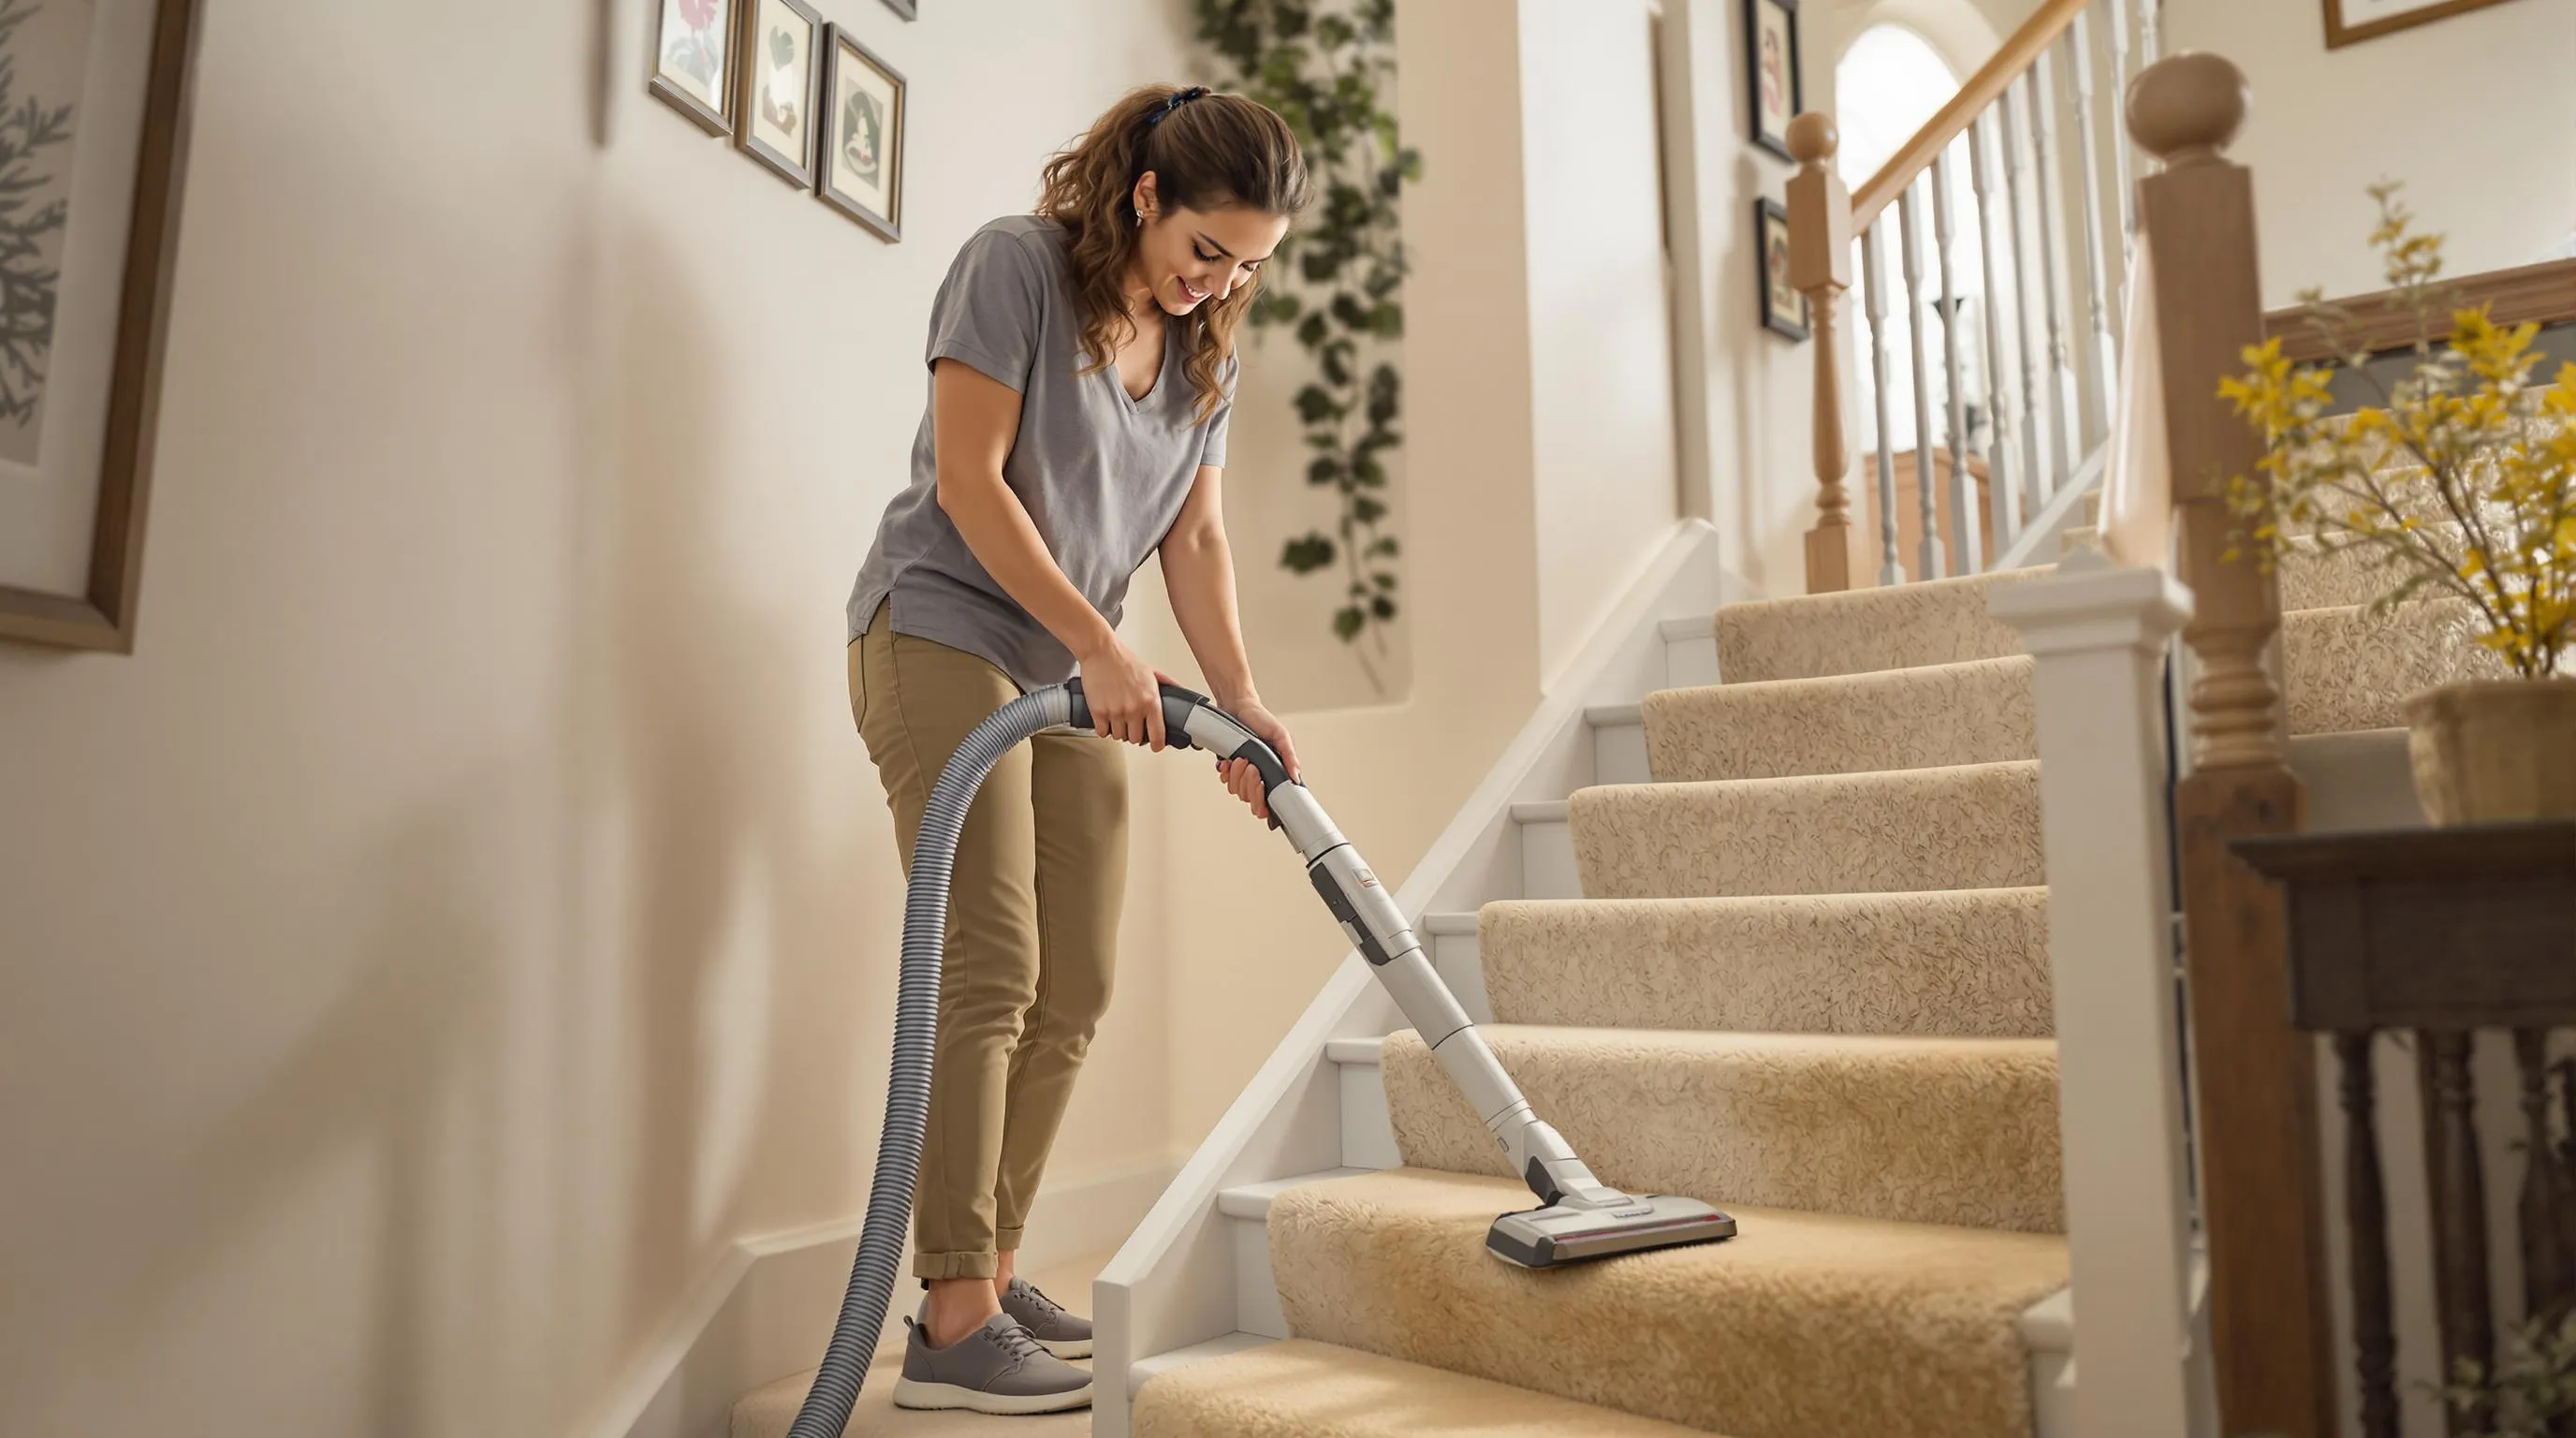
Vacuuming Techniques
Start with proper equipment selection for effective carpet stair cleaning. Use a handheld vacuum or corded vacuum with sufficient reach to access all steps safely. Handheld models offer superior maneuverability on narrow stair treads while corded vacuums provide consistent suction power throughout the cleaning process.
Attach the brush head attachment to agitate carpet fibers and dislodge surface dirt effectively. The brush attachment penetrates deeper into carpet pile compared to standard hose attachments and removes debris that settles between fiber strands.
Work systematically from top to bottom to prevent re-tracking dirt onto previously cleaned areas. Begin vacuuming at the highest step and move downward methodically. This pattern ensures that loosened debris falls onto uncleaned steps rather than contaminating finished surfaces.
Vacuum high-traffic areas twice weekly to maintain carpet appearance and reduce deep cleaning frequency. Steps near entrances and main living areas accumulate dirt faster than upper stair sections and require more frequent attention.
| Vacuum Type | Maneuverability | Suction Power | Best For |
|---|---|---|---|
| Handheld | Excellent | Moderate | Spot cleaning, tight spaces |
| Corded Upright | Good | High | Deep cleaning, large areas |
| Cordless Stick | Very Good | Variable | Regular maintenance |
Spot Cleaning Stains
Identify stained areas immediately upon discovery to prevent permanent setting. Fresh stains respond better to cleaning solutions than aged stains that have bonded with carpet fibers over time.
Apply targeted cleaning solutions based on stain type and severity. Mix carpet shampoo with warm water according to manufacturer instructions for general cleaning. Create a vinegar solution using 1/4 cup white vinegar per gallon of water for light stains or increase to 1/2 cup vinegar for stubborn marks.
Scrub gently using circular motions with a stiff brush or clean cloth to penetrate carpet fibers without damaging the backing material. Apply moderate pressure while working the cleaning solution into the stain from outside edges toward the center to prevent spreading.
Blot excess moisture thoroughly using clean towels or cloths to prevent oversaturation. Press down firmly and lift straight up to absorb liquid without rubbing it deeper into carpet fibers. Replace saturated towels with dry ones until minimal moisture transfers.
Test cleaning solutions first in an inconspicuous corner area to check for color bleeding or fiber damage. Wait 10 minutes after application to observe any adverse reactions before proceeding with full treatment.
Deep Cleaning Methods
Steam cleaning provides comprehensive carpet restoration for heavily soiled or odorous carpeted stairs. Rent steam cleaning equipment from hardware stores or purchase home-use models for regular maintenance. Steam cleaners remove deep stains and eliminate odor-causing bacteria that regular vacuuming cannot reach.
Prepare the steam cleaner according to manufacturer specifications using appropriate cleaning solutions. Fill the clean water tank with hot water and add recommended carpet cleaning formula. Test steam output on an inconspicuous area before beginning full treatment.
Clean systematically from top to bottom ensuring even coverage across all stair surfaces. Move the steam cleaner slowly across each step allowing adequate dwell time for soil extraction. Overlap passes slightly to prevent missed spots while avoiding excessive moisture application.
Extract moisture completely using the steam cleaner’s suction function or wet-dry vacuum attachment. Remove as much water as possible to accelerate drying time and prevent mold growth in carpet backing materials.
Accelerate drying process using fans or opening windows to promote air circulation. Position fans to direct airflow across wet carpet surfaces and maintain room ventilation until carpets feel completely dry to touch. Proper drying typically requires 6-12 hours depending on humidity levels.
Apply carpet shampoo manually for budget-conscious deep cleaning without steam equipment. Mix carpet shampoo with warm water in a bucket and apply using a scrub brush or sponge. Focus extra attention on high-traffic areas and visible stains while working cleaning solution into carpet pile.
Limit water usage carefully to prevent carpet backing damage and subfloor moisture issues. Use minimal cleaning solution quantities and extract excess water immediately after application. Over-wetting can cause carpet shrinkage and promote mold growth beneath the surface.
Vacuum dried carpets thoroughly after complete drying to restore fiber texture and remove any remaining debris. This final vacuuming fluffs carpet pile and eliminates cleaning residue that may attract future soil accumulation.
How to Clean Concrete Staircases
Concrete staircases endure heavy foot traffic and weather exposure. Regular cleaning extends their lifespan significantly and maintains their appearance for years.
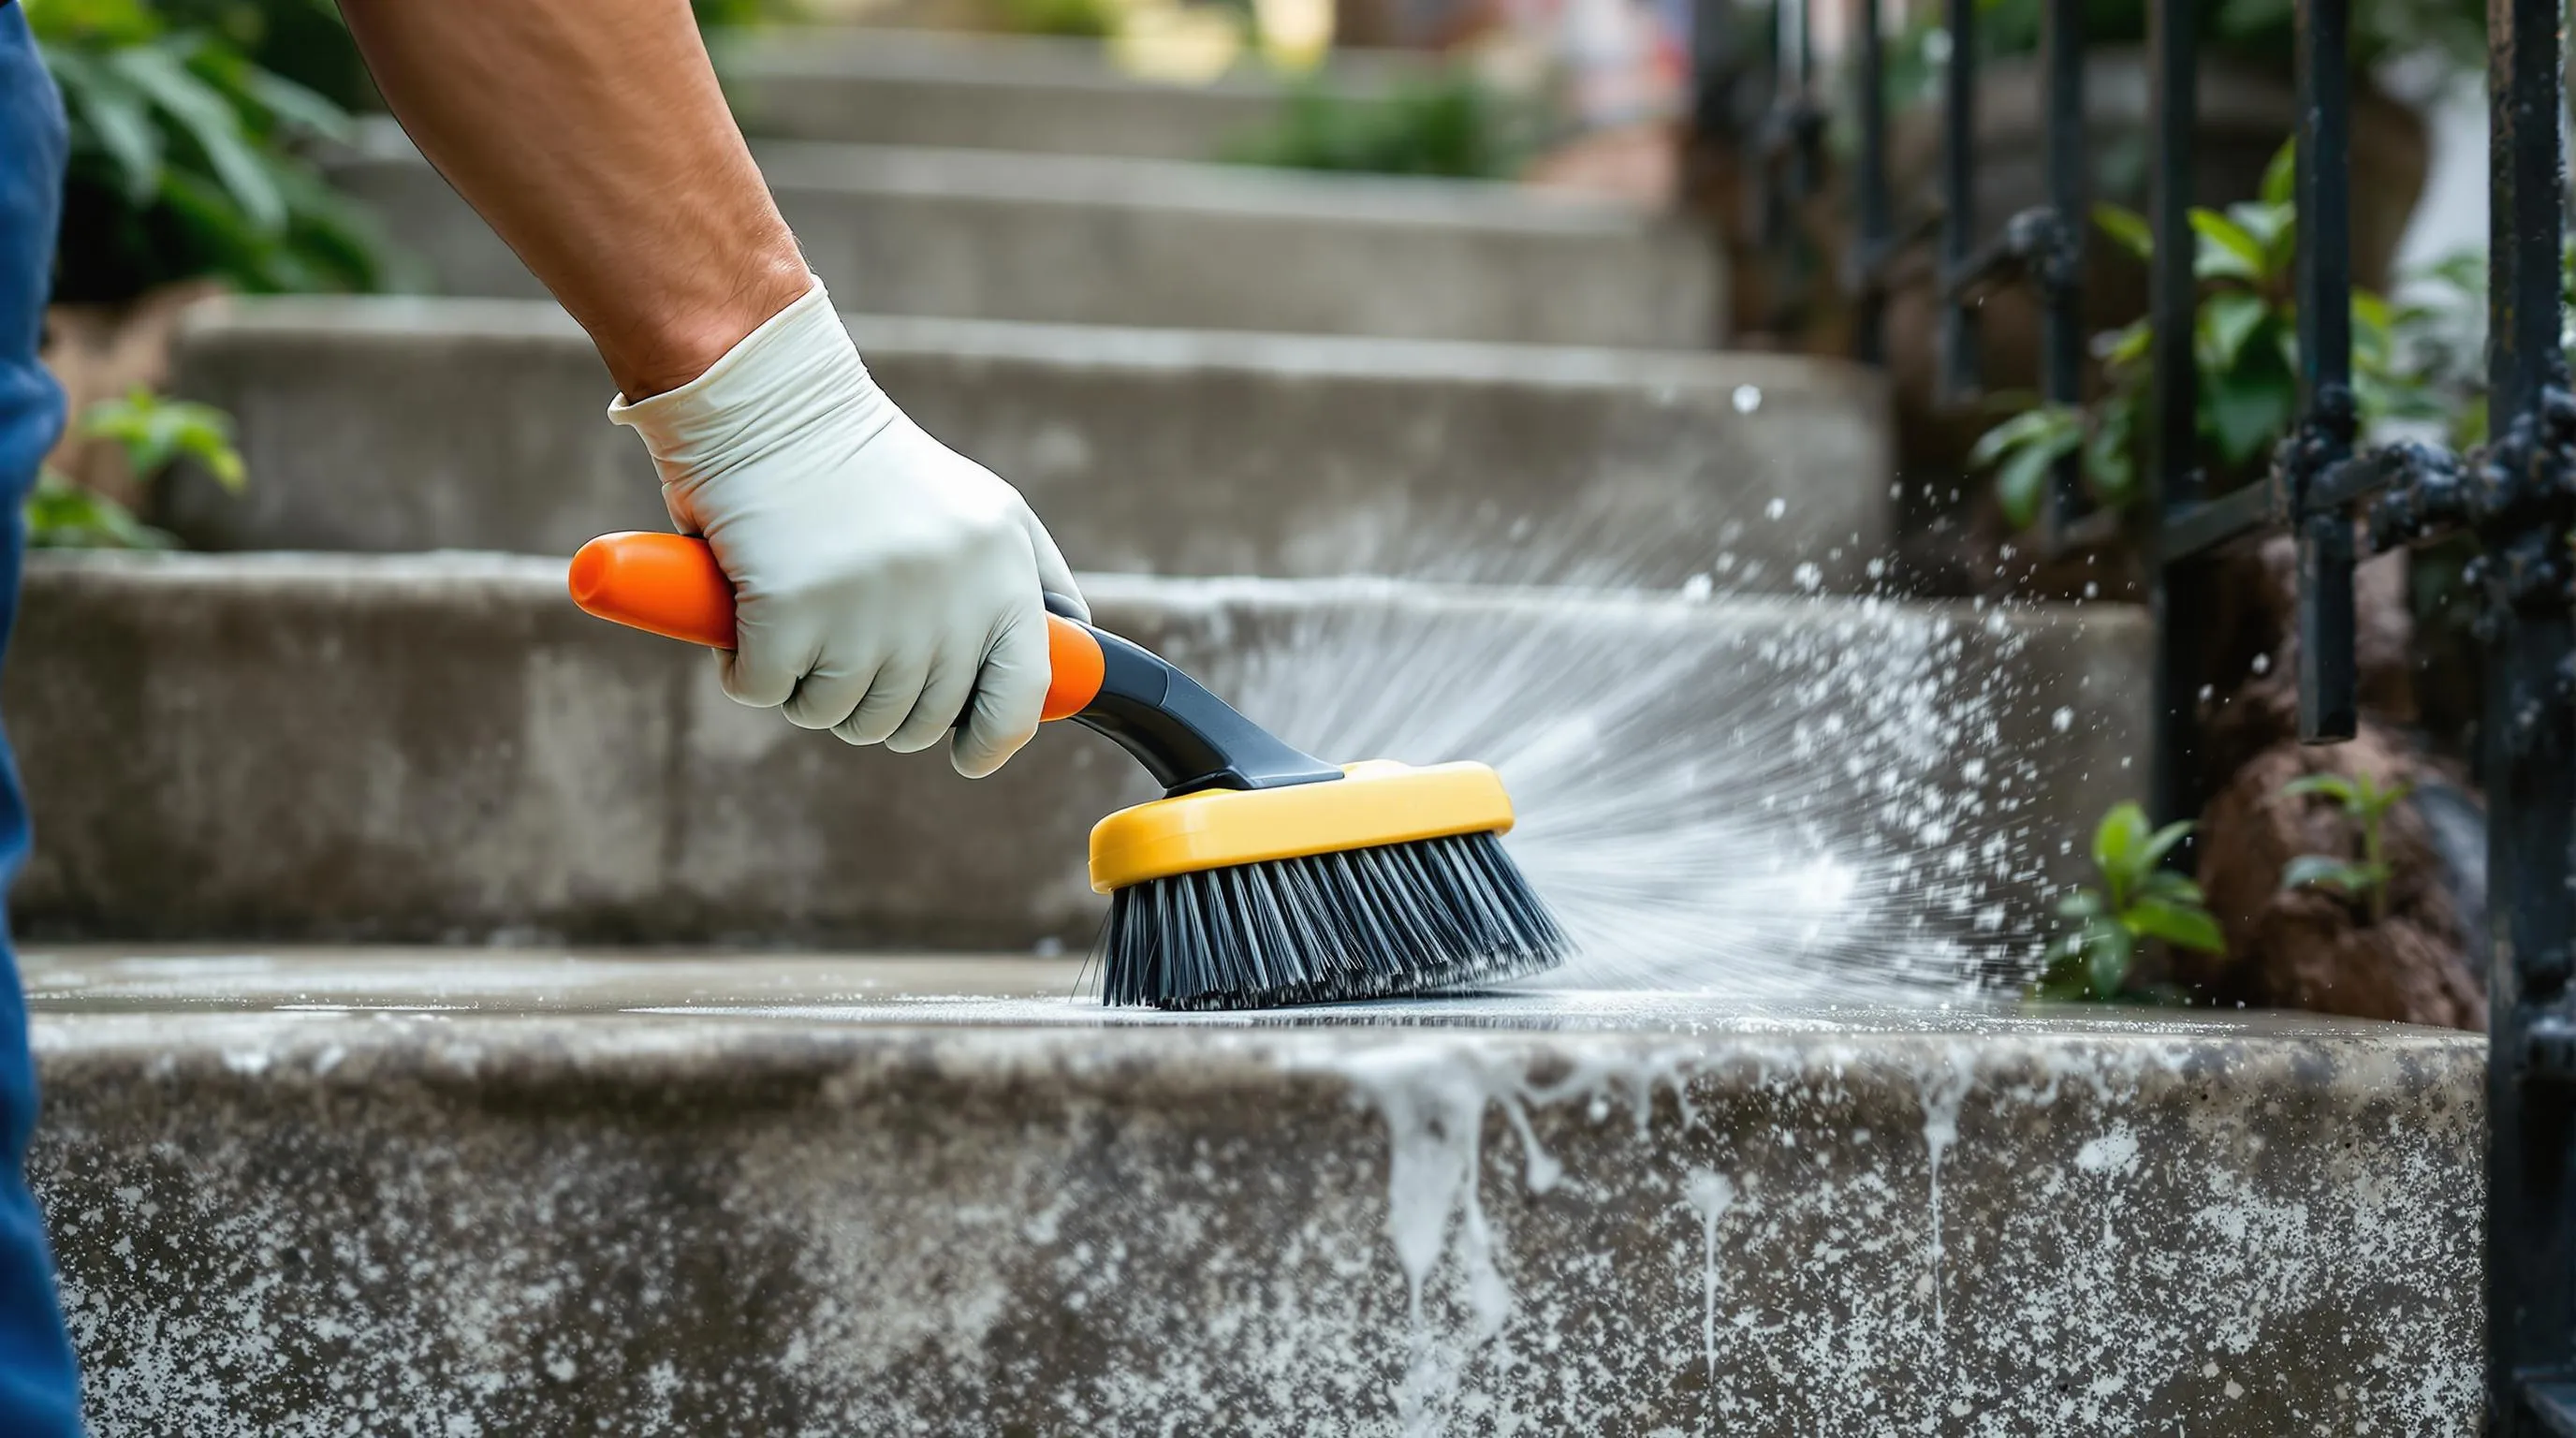
Basic Cleaning Approach
Sweep debris from concrete stairs using a push broom to remove loose dirt and leaves. Focus on corners and edges where debris accumulates most heavily.
Rinse the entire staircase with water to clear away dust particles and surface grime. Use a garden hose for outdoor stairs or a bucket for indoor concrete steps.
Mix 1 gallon of hot water with 1/2 cup baking soda and 2 tablespoons dish soap in a large bucket. This solution breaks down grease and general dirt effectively without damaging concrete surfaces.
Apply the cleaning solution to 3-4 steps at a time using a stiff-bristled brush. Work the solution into the concrete surface using circular motions. Avoid letting the cleaner dry on the surface as this creates residue buildup.
Scrub each step thoroughly with the stiff brush paying attention to textured areas where dirt embeds deeply. Concrete’s porous nature requires firm pressure to remove embedded particles.
Rinse immediately after scrubbing each section with clean water from a hose or bucket. Direct water flow from top to bottom to prevent dirty water from pooling on cleaned areas.
| Cleaning Solution Ratios | Water Amount | Soap Amount | Baking Soda Amount |
|---|---|---|---|
| Light cleaning | 1 gallon | 1 tablespoon | 1/4 cup |
| Regular cleaning | 1 gallon | 2 tablespoons | 1/2 cup |
| Heavy-duty cleaning | 1 gallon | 3 tablespoons | 3/4 cup |
Removing Stubborn Stains
Identify the stain type before selecting removal methods as different stains require specific treatments. Oil stains appear dark and spread outward while mildew stains show black or green discoloration.
Apply baby powder or cornstarch to fresh grease stains creating a thick layer that covers the entire affected area. Leave the absorbent material overnight to draw oil from the concrete pores.
Sweep away the powder after 12-24 hours and check if the stain remains visible. Repeat the process for persistent grease marks before moving to liquid cleaners.
Mix 3 parts bleach with 4 parts water for mildew removal in a spray bottle or bucket. This ratio provides effective mold killing power while remaining safe for concrete surfaces.
Spray the bleach solution directly onto mildew stains and allow it to sit for 10-15 minutes. Avoid applying bleach on windy days or in direct sunlight to prevent rapid evaporation.
Scrub mildew areas with a stiff brush after the waiting period using back-and-forth motions to break down the growth. Rinse thoroughly with water to remove all bleach residue.
Create an oxygenated bleach paste for set-in stains by mixing the powder with just enough water to form a thick consistency. This paste clings to vertical surfaces better than liquid solutions.
Spread the paste over stubborn stains using a plastic scraper ensuring complete coverage of discolored areas. Allow the paste to work for 20-30 minutes before scrubbing.
Rinse all treated areas multiple times with clean water to prevent chemical residue from attracting new dirt. Check that no cleaning product odor remains before considering the job complete.
Cleaning Stair Railings and Handrails

Dusting removes 85% of debris from stair railings before wet cleaning begins. Start at the top of your staircase and work downward using a microfiber cloth to capture dust particles effectively. Move the cloth along each section of the railing including spindles balusters and decorative elements that collect dust throughout daily use.
Vacuum attachments reach crevices that cloths cannot access on ornate railings. Use your vacuum’s brush attachment on low suction to clean detailed woodwork metal scrollwork and painted surfaces. Focus extra attention on areas where the railing meets the wall and joints between different railing components.
Apply a mild soap solution using 2 tablespoons of dish soap mixed with 1 gallon of warm water for most railing materials. Dip a microfiber cloth into the solution and wring out excess moisture before wiping each section. Clean one 3-foot section at a time to prevent the solution from drying on the surface.
Material-specific cleaning methods ensure proper care for different railing types:
- Wood railings: Use the soap solution sparingly and dry immediately with a clean towel to prevent water damage
- Metal railings: Apply the cleaning solution generously and scrub with a soft brush for oxidation or rust spots
- Painted surfaces: Clean gently with minimal pressure to avoid chipping or scratching the paint finish
- Glass panels: Use a glass cleaner after the soap solution for streak-free results
Disinfecting handrails eliminates germs that accumulate from frequent hand contact. Mix 1 part white vinegar with 3 parts water in a spray bottle for a natural disinfectant. Spray the solution on all handrail surfaces and let it sit for 30 seconds before wiping clean with a microfiber cloth.
Drying prevents water spots and damage across all railing materials. Use a clean dry towel to remove all moisture immediately after cleaning each section. Pay special attention to joints crevices and decorative details where water tends to collect and cause long-term damage.
Regular maintenance frequency depends on staircase traffic and environmental factors. Clean handrails weekly in high-traffic areas and bi-weekly in moderate-use spaces. Increase cleaning frequency during flu season or when family members are ill to maintain proper hygiene standards.
Maintenance Tips for Long-Term Care
Proper maintenance extends your staircase lifespan and prevents costly repairs. Establish consistent care routines to protect your investment and maintain safety standards.
Regular Cleaning Schedule
Vacuum or sweep weekly to remove dust, dirt, and debris from carpet, wood, or vinyl stairs. High-traffic staircases accumulate particles faster than other home surfaces.
Spot clean spills immediately to prevent stains and long-term damage. Fresh spills respond better to treatment than set-in stains that penetrate surface materials.
Deep clean every 3-4 months using appropriate methods for your staircase material. Shampoo carpeted stairs with carpet-specific cleaners, while hard surfaces require neutral pH cleaners rated at 7.0.
Wipe down railings and spindles weekly with microfiber cloths or dusters during routine cleaning sessions. Handrails collect oils, dust, and germs from daily contact.
| Maintenance Task | Frequency | Materials Needed |
|---|---|---|
| Vacuum/Sweep | Weekly | Vacuum with hose attachment or stiff broom |
| Spot Clean Spills | Immediately | Clean cloths, appropriate cleaner |
| Deep Clean | Every 3-4 months | Carpet shampoo or neutral pH cleaner |
| Wipe Railings | Weekly | Microfiber cloth, disinfectant |
Preventive Measures
Remove shoes before using stairs to reduce dirt and abrasion on carpet and wood surfaces. This simple step cuts cleaning frequency by 40%.
Place mats at entry points to trap debris before it reaches the stairs. Position heavy-duty mats both inside and outside stair access doors.
Protect high-traffic areas with rugs or runners to reduce wear and stain buildup. Replace protective coverings when they show visible wear patterns.
Check and tighten hardware every 6 months to ensure safety and stability. Loose balusters or handrail brackets create safety hazards.
Inspect regularly for scratches, loose parts, or damage before each cleaning session. Early detection prevents minor issues from becoming major repairs.
Use appropriate cleaning solutions for your staircase material. Avoid abrasive cleaners and solvents on wood and vinyl surfaces to prevent permanent damage.
Oil and wax wood stairs every 6-12 months to maintain finish quality and extend material longevity. Apply products designed specifically for your wood type and finish.
Use gentle cleaning tools including soft brushes and non-abrasive pads to avoid scratching delicate surfaces. Reserve stiff brushes for concrete stairs only.
Start cleaning from the top and work downward for efficiency and safety. This method prevents re-contamination of already cleaned areas.
Avoid excessive water on wood and carpet materials to prevent warping, swelling, and mold growth. Use damp cleaning methods rather than wet techniques.
Inspect tactile strips and non-slip surfaces quarterly for debris accumulation that compromises safety features. Clean these areas with soft brushes to maintain effectiveness.
Troubleshooting Common Issues
Even with regular maintenance, staircases present cleaning challenges that require specific solutions. These common problems demand targeted approaches to restore your stairs effectively.
Dealing with Persistent Stains
Oil-based stains respond best to solvent-based cleaners applied directly to the affected area. Blot the stain with a clean cloth soaked in mineral spirits for wood stairs, or use a degreasing agent for concrete surfaces. Allow the solvent to sit for 10-15 minutes before scrubbing gently with a soft brush.
Food and beverage stains require immediate attention with warm water and dish soap. Mix 2 tablespoons of liquid dish soap with 1 cup of warm water, then apply the solution using a microfiber cloth. For carpeted stairs, blot rather than scrub to prevent fiber damage and spreading.
Rust stains on concrete or metal railings dissolve with a paste made from 3 parts baking soda and 1 part water. Apply the paste, let it sit for 30 minutes, then scrub with a stiff brush. Rinse thoroughly with clean water and dry completely.
Paint or adhesive residue lifts from wood stairs using a plastic scraper followed by mineral spirits. Work in small sections, scraping gently in the direction of the wood grain. Clean residual solvent with a damp cloth and allow the area to dry completely.
Pet stains on carpeted stairs require enzymatic cleaners that break down organic compounds. Apply the enzyme cleaner according to manufacturer instructions, typically allowing 15-20 minutes for penetration before blotting with clean towels.
| Stain Type | Cleaning Solution | Application Time | Tools Needed |
|---|---|---|---|
| Oil-based | Mineral spirits or degreaser | 10-15 minutes | Soft brush, clean cloths |
| Food/beverage | Dish soap + warm water | Immediate | Microfiber cloth |
| Rust | Baking soda paste | 30 minutes | Stiff brush |
| Paint/adhesive | Plastic scraper + mineral spirits | Variable | Scraper, damp cloth |
| Pet stains | Enzymatic cleaner | 15-20 minutes | Clean towels |
Addressing Wear and Tear
Scratches on wood stairs fill with wood filler or wax sticks that match your stair color. Clean the scratch thoroughly, apply the filler slightly above surface level, then sand smooth with fine-grit sandpaper once dry. Apply matching wood stain or finish to blend the repair.
Loose carpet edges secure with carpet adhesive or double-sided carpet tape. Lift the loose section, clean both surfaces, then apply adhesive evenly. Press firmly and place heavy objects on the area for 24 hours while it sets.
Worn carpet areas often occur on stair nosings where foot traffic concentrates. Rotate area rugs regularly to distribute wear, or consider installing carpet runners with padding underneath to extend carpet life.
Loose handrail connections tighten using appropriate screws or bolts for your railing type. Check mounting brackets quarterly and tighten any loose hardware immediately to prevent safety hazards.
Chipped concrete steps repair with concrete patching compound mixed according to package directions. Clean the damaged area, wet it lightly, then apply the patch with a putty knife. Smooth the surface and allow 24-48 hours for complete curing.
Water damage on wood requires immediate drying and assessment. Place fans to circulate air around affected areas and use dehumidifiers to remove moisture. Sand lightly once dry, then apply wood conditioner followed by matching stain and finish.
Cracked grout lines between tile steps scrape clean with a grout removal tool, then apply new grout using a rubber float. Work diagonally across tiles to fill joints completely, then clean excess grout with a damp sponge after 15 minutes.
Regular inspections every 3 months help identify wear patterns before they become major problems. Document problem areas with photos to track progression and plan repairs efficiently.
Conclusion
Keeping your staircase clean doesn’t have to be overwhelming when you break it down into manageable steps. Whether you’re dealing with wood carpet concrete or metal surfaces the key is consistency and using the right techniques for each material.
Remember that regular maintenance prevents bigger problems down the road. A few minutes of weekly cleaning saves you hours of deep cleaning later and protects your investment in your home’s flooring and fixtures.
With the tools and methods you’ve learned you’re now equipped to tackle any staircase cleaning challenge. Your stairs will not only look better but also provide a safer environment for everyone who uses them daily.
Frequently Asked Questions
How often should I clean my stairs?
Weekly vacuuming or sweeping is recommended for regular maintenance, with immediate spot cleaning of spills. Deep cleaning should be performed every 3-4 months using appropriate methods for your stair material. High-traffic areas may require more frequent cleaning, especially during flu season when handrails should be disinfected weekly.
What tools do I need to clean stairs effectively?
Most homeowners already have 80% of the required tools. Essential items include a stiff brush or broom, vacuum cleaner with hose attachment, clean cloths, and appropriate cleaning solutions for your stair material. Optional tools like wet-dry vacuums, steam cleaners, and extension poles can enhance the cleaning process.
Can I use the same cleaning method for all stair materials?
No, different materials require specific cleaning approaches. Wooden stairs need gentle care with mild solutions, carpeted stairs require specialized vacuuming techniques and steam cleaning, while concrete stairs can handle stronger cleaning solutions. Always test cleaning products on inconspicuous areas first to prevent damage.
How do I remove stubborn stains from concrete stairs?
For grease stains, apply absorbent powders like baking soda and let sit before scrubbing. For mildew, use a bleach solution (1 part bleach to 10 parts water). Create a cleaning paste with hot water, baking soda, and dish soap for general stains, then scrub and rinse thoroughly.
What’s the best way to clean carpeted stairs safely?
Use a handheld or corded vacuum with brush attachments, working from top to bottom systematically. For stains, identify and treat promptly with appropriate solutions after testing in inconspicuous areas. Steam cleaning provides deep cleaning but requires proper moisture extraction and adequate drying time to prevent mold.
How do I maintain wooden stairs without damaging them?
Dust regularly and vacuum gently to remove debris. Use mild cleaning solutions appropriate for your wood finish type (surface-sealed, penetrating-sealed, or unfinished). Avoid excessive moisture, work with the grain, and apply wood polish or wax following manufacturer instructions to restore shine and protect the surface.
Should I clean stairs from top to bottom or bottom to top?
Always clean stairs from top to bottom. This prevents dirty water and debris from flowing onto already-cleaned areas. Start by removing loose debris, then apply cleaning solutions working downward, and finish by drying or polishing in the same top-to-bottom direction for best results.
How do I clean stair railings and handrails properly?
First dust to remove debris, then clean with appropriate solutions based on material (wood, metal, painted surfaces, or glass). Use a natural disinfectant solution of water, white vinegar, and a few drops of essential oil. Clean weekly in high-traffic areas and bi-weekly in moderate-use spaces.
What safety precautions should I take when cleaning stairs?
Remove foot traffic from the area and use drop cloths to protect surrounding floors. Wear protective gear and work during low-traffic hours. Keep cleaning supplies organized and ensure proper ventilation. Never leave cleaning solutions unattended and always test products on inconspicuous areas first.
How can I prevent my stairs from getting dirty quickly?
Implement preventive measures like removing shoes before using stairs, placing mats at entry points, and protecting high-traffic areas with rugs. Establish regular maintenance schedules, address spills immediately, and conduct monthly inspections to identify wear patterns before they become major problems.

